Difference: WoodenBox (7 vs. 8)
Revision 82018-08-31 - PeterSchmid
| Line: 1 to 1 | ||||||||||
|---|---|---|---|---|---|---|---|---|---|---|
%DASHBOARD{ section="banner" | ||||||||||
| Line: 12 to 12 | ||||||||||
| Changed: | ||||||||||
| < < | ||||||||||
| > > | ||||||||||
Hardware|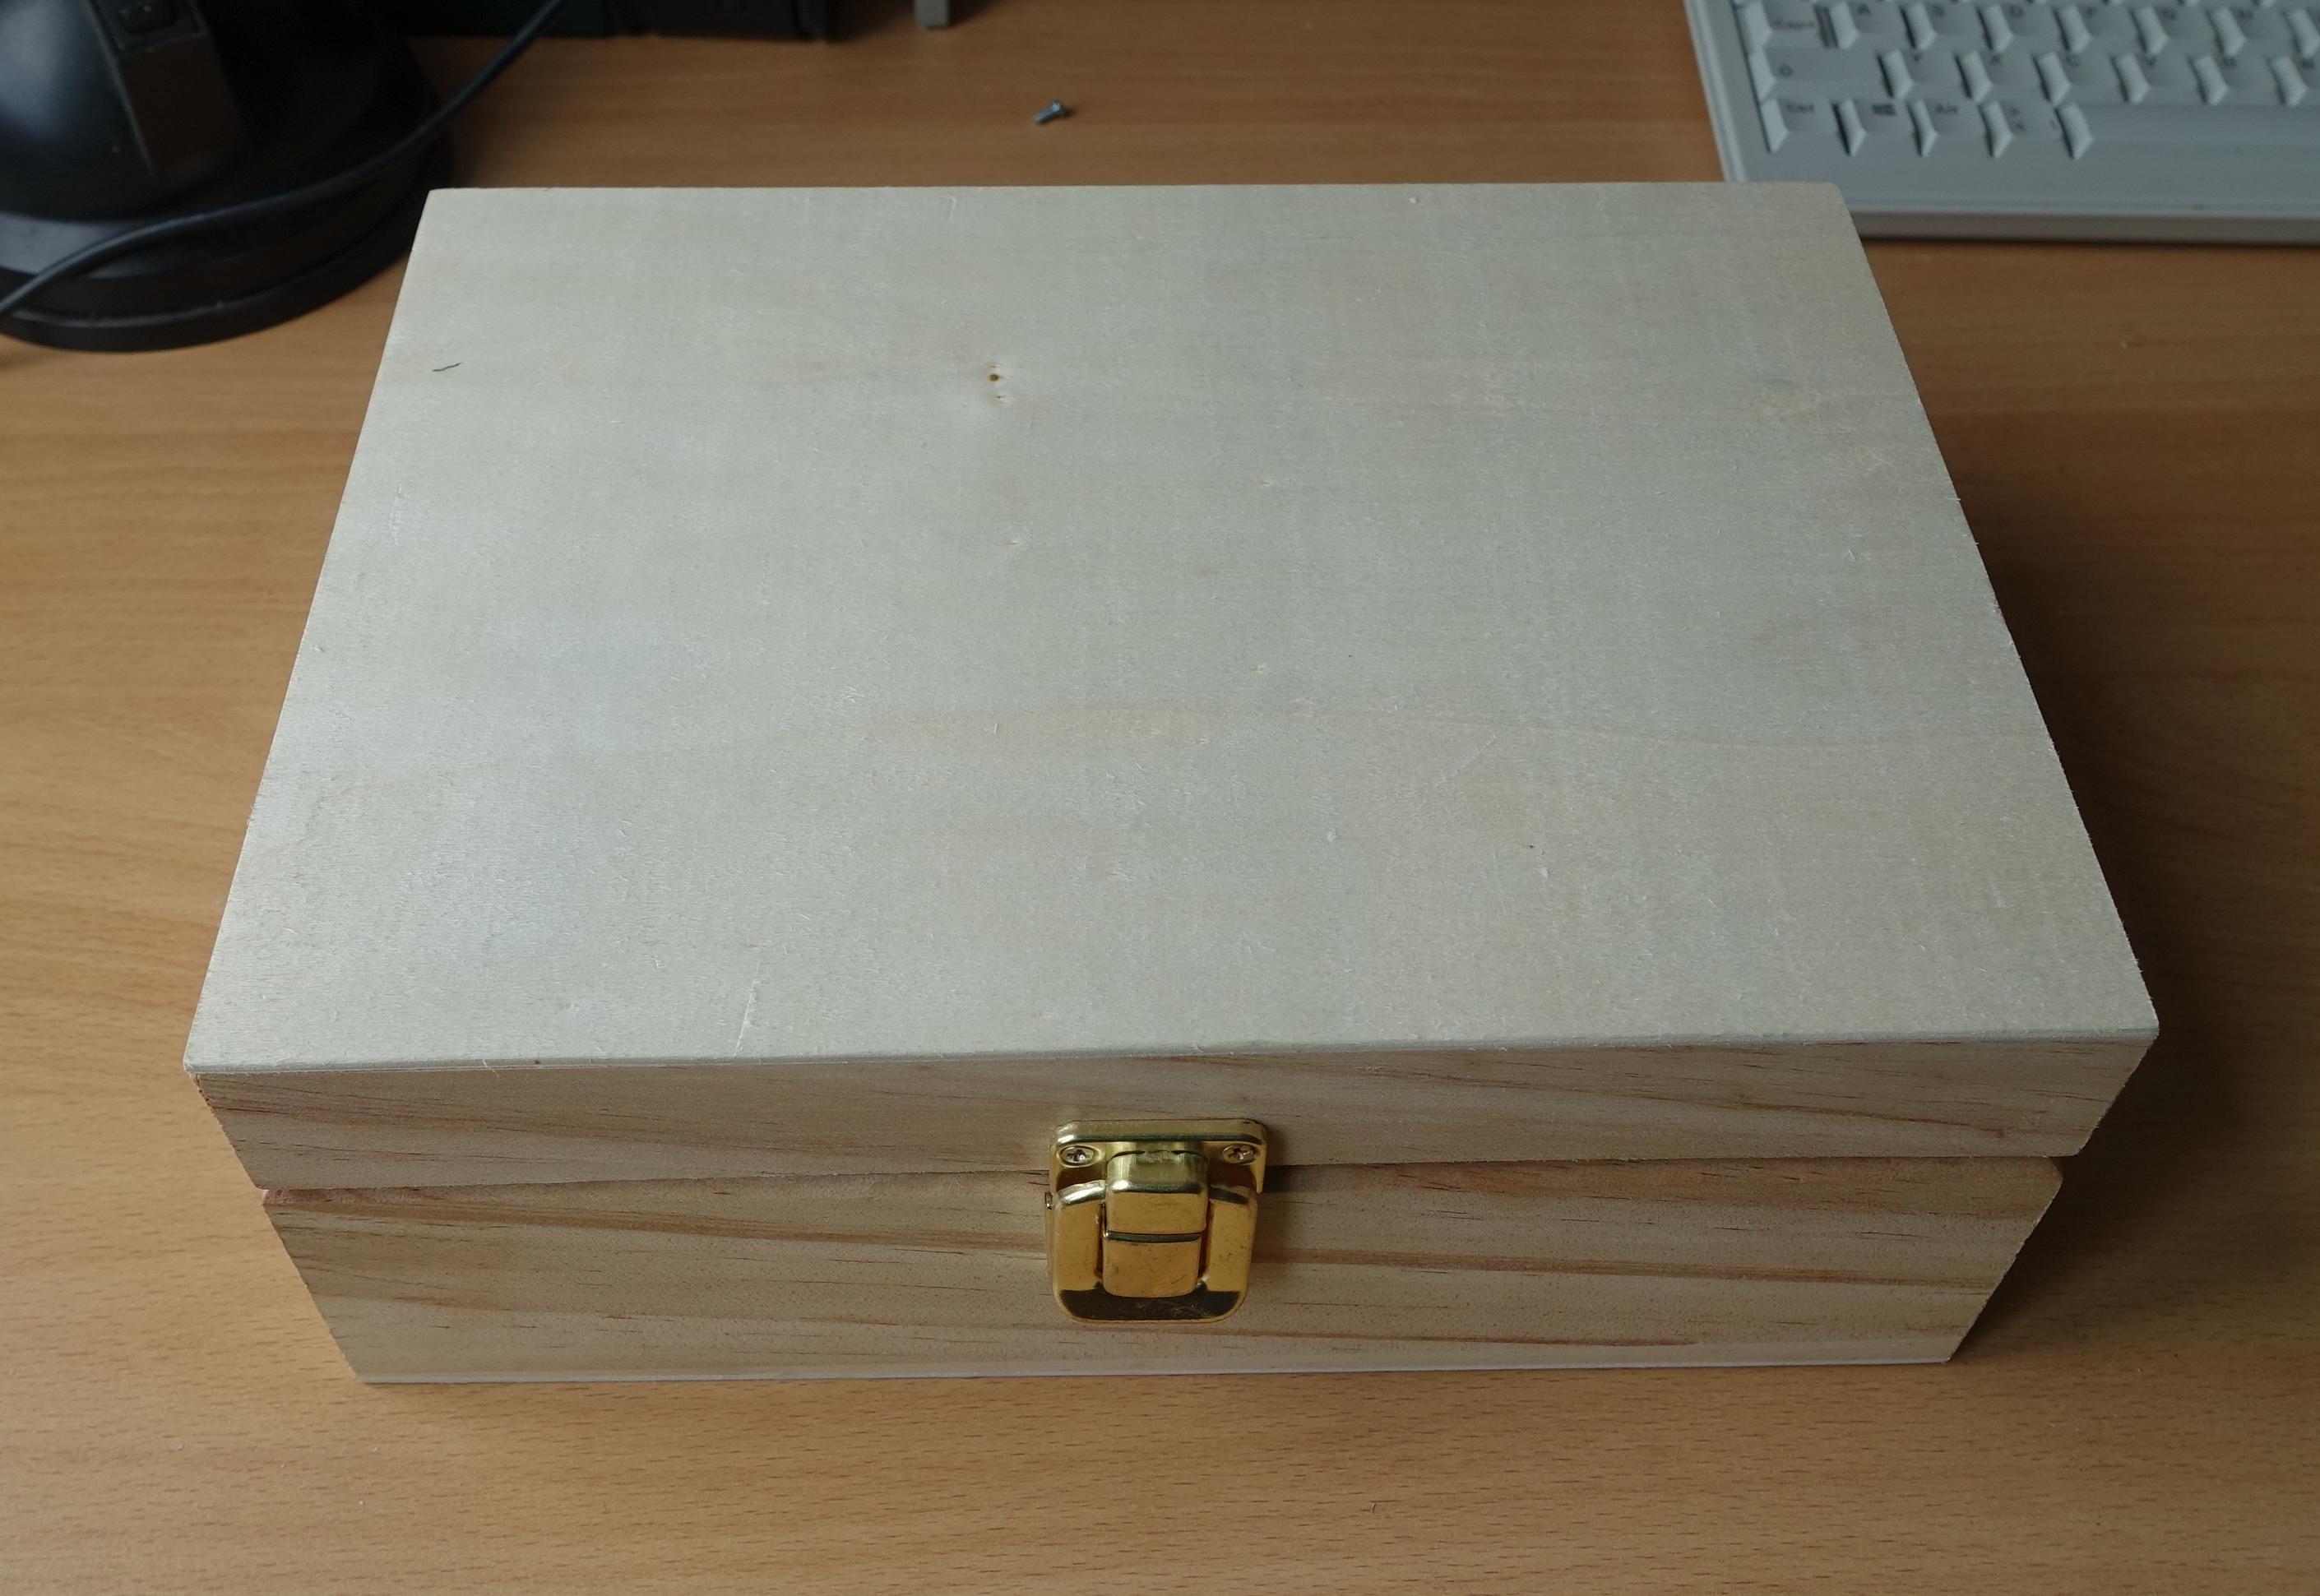 | ||||||||||
| Line: 22 to 22 | ||||||||||
|
Of course you do not need any monitor but it is very convenient to have one built in (e.g. HDMI Monitor 5" 800x480 from Adafruit | ||||||||||
| Changed: | ||||||||||
| < < |
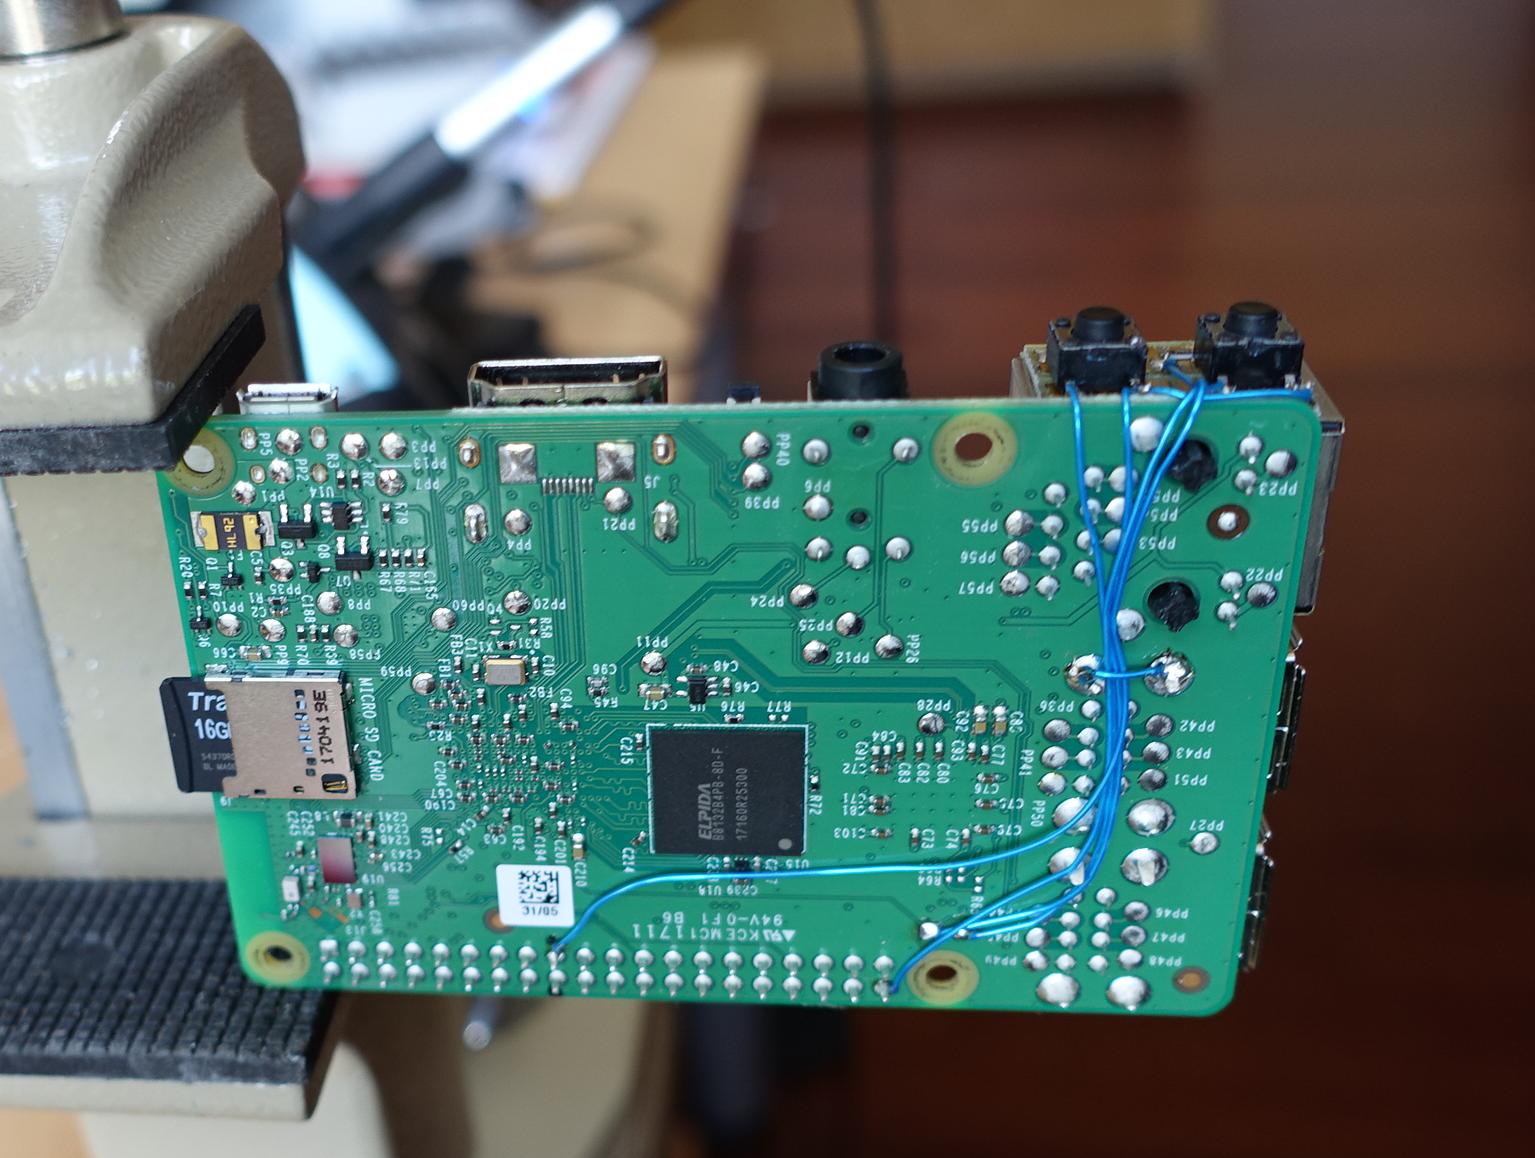
Buttons for Shutdown and Run | |||||||||
| > > | ||||||||||
To keep prices down, the Raspberry Pi is missing something that most electronic devices come with: a switch to turn it on and off. Thats OK, you say, well just pull the plug to turn it off. Unfortunately, this can lead to corruption problems with the SD card. All the instructions say you should run the shutdown command before pulling the plug, but this is not always possible, particularly when your Raspberry Pi is running headless without a connected keyboard and monitor, and possibly even without a network connection. So, what can a self-respecting DIYer do? The answer, of course, is add your own switch! | ||||||||||
| Line: 43 to 44 | ||||||||||
| If the Raspberry Pi is in HALT mode then you can start it again with switch off (pull the plug) and switch on again or hit the RUN button. | ||||||||||
| Changed: | ||||||||||
| < < | P6 Pinout | |||||||||
| > > | P6 Pinout | |||||||||
| ||||||||||
| Line: 51 to 52 | ||||||||||
| ||||||||||
| Added: | ||||||||||
| > > | ||||||||||
| Added: | ||||||||||
| > > | ||||||||||
|
-- | ||||||||||
| Deleted: | ||||||||||
| < < | Comments | |||||||||
| ||||||||||

View topic | History: r11 < r10 < r9 < r8 | More topic actions...
Ideas, requests, problems regarding TWiki? Send feedback